
Sustainable Innovation to Manage and Modernize IBM i Systems and Beyond
End-to-end IT and AS/400 solutions that bring digital experiences to life.
Learn MoreGlobal Leaders Trust Fresche for Future-Forward Innovation.
Learn how these companies maximized the value of their IBM i ecosystem with Fresche Solutions as their partner.


Trillion
Dollars in Assets Managed
Billions
of Dollars in Revenue Transformed
>300K
Developers Served
50%+
Productivity Achieved
The Only End-to-End Solution Purpose-Built to Manage and Modernize IBM i Systems

Strategic Advisory
Establish a modernization roadmap, cloud adoption strategy, IT health-check, security plan and more. Our expert advisors help you build the future of your IT.
Learn More
New Application Development & Integration
Accelerate technology modernization with automation and AI/ML assisted transformation. Modernize your RPG, COBOL and Synon applications or develop new web & mobile applications, create APIs.
Learn More
Infrastructure Managed Services
Optimize IT with advanced cloud hosting and disaster recovery for IBM i (AS/400), AIX, Linux, and Wintel platforms, ensuring scalability, security, and seamless operations.
Learn More
IBM i Application Modernization
Drive IT projects forward, reduce backlog, and access IBM i and RPG development skills with flexible engagement models including project-based support.
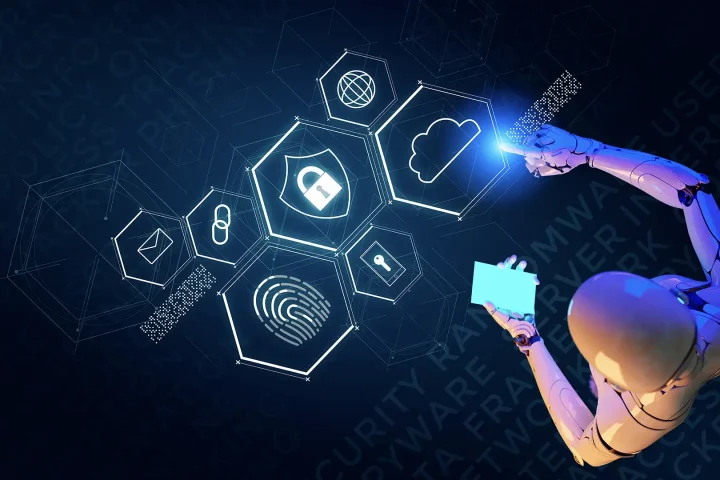
Learn MoreIBM i Security Suite
Uncover vulnerabilities and protect your IBM i data against ransomware, intrusion, and cyber threats. Quickly achieve regulatory compliance.
Learn More
This reuse strategy has enabled our dealers to continue to benefit from the business processes that have evolved with their input. Changing our processes to fit a particular package would have eliminated or reduced this competitive advantage.
Tjeu Bollen, IT Manager for Dealer Systems, Volvo

One of the reasons we liked WebSmart was because all our coding was in RPG—we’re an RPG shop—and we wanted something that we could easily migrate to. If you’re switching from RPG to Java* or .NET, the learning curve would be very high. That’s not the case with WebSmart.
Dail Earl, Manager of Business Applications, Veolia

New levels of automation for self-serve reservation system creates better user experience for 2.2B cruise line.
Ryan Smith, IBM i Modernization Specialist

Simplified acquisition integration fuels growth & cost savings at major trucking company.
Chris Nickchen, IT Manager
IBM i Education: Resources, Trends, News, Events, and More
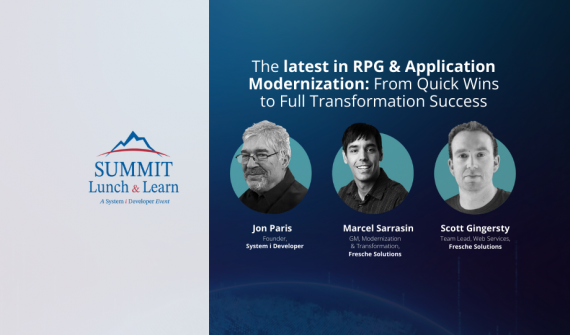
System i Developer | SUMMIT Lunch & Learn | Spring 2024
Join this 75-minute technical discussion where we share helpful hints, an IBM i development tool, and a live Q&A.…
IT Experts.
Proven Process.
Winning IP.
We create leading digital applications and products that transform technology and business.
2200+
Global Clients Across All Industries
1000+
IT Strategy & Roadmaps Developed
50+
Fortune 500 Clients
500+
Managed Services Clients Engaged
350+
Business and Technology Professionals
9
Global Offices
Featured Media Mentions
Fresche professionals combine cutting-edge technology with business expertise to fuel growth & transformation.

POWERCast: Scott Gingerysty discusses new opportunities to enhance, extend and modernize your IT and IBM i applications.

Thoroughly Modern: Your trusted monthly guide to the latest technology trends and IBM i insights.
Fresche honored as a Top Employer in Canada for 2024, marking the tenth year of this recognition.